
-
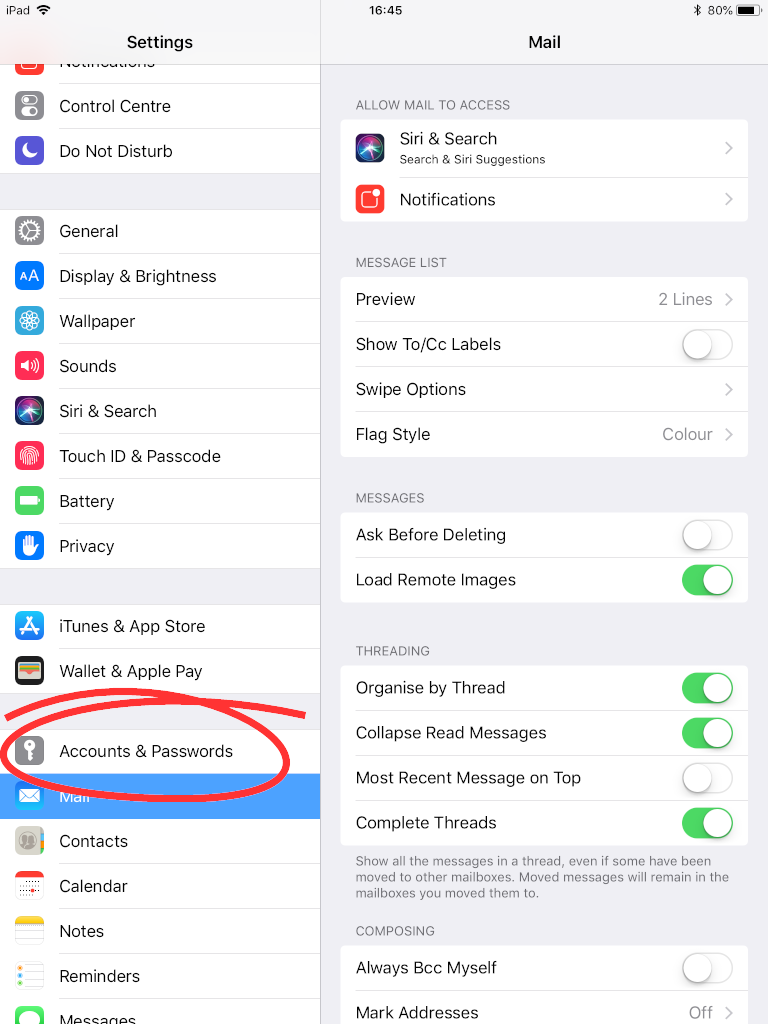
- Touch the Settings icon on the home screen.
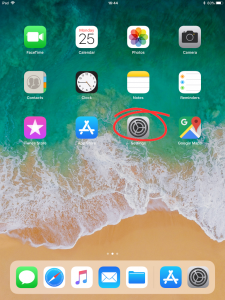
- Touch the Settings icon on the home screen.

-
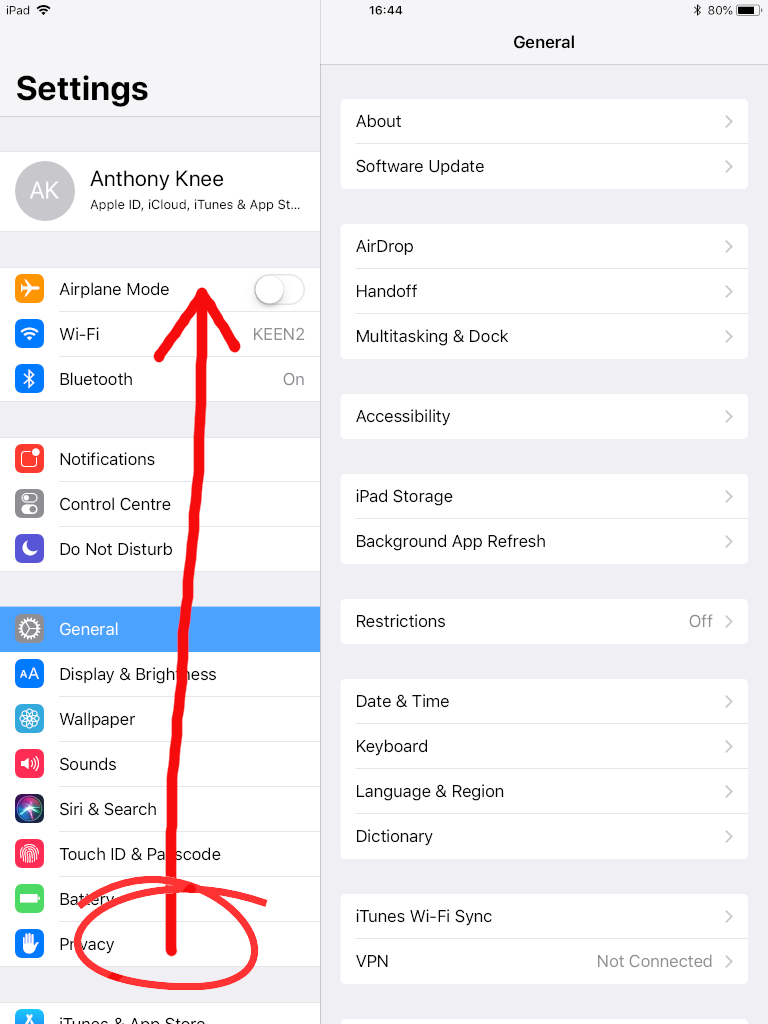
- Drag the bottom of the left menu upwards until you can see “Accounts & Passwords”.
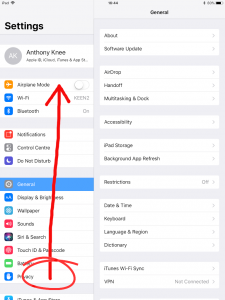
- Drag the bottom of the left menu upwards until you can see “Accounts & Passwords”.
-
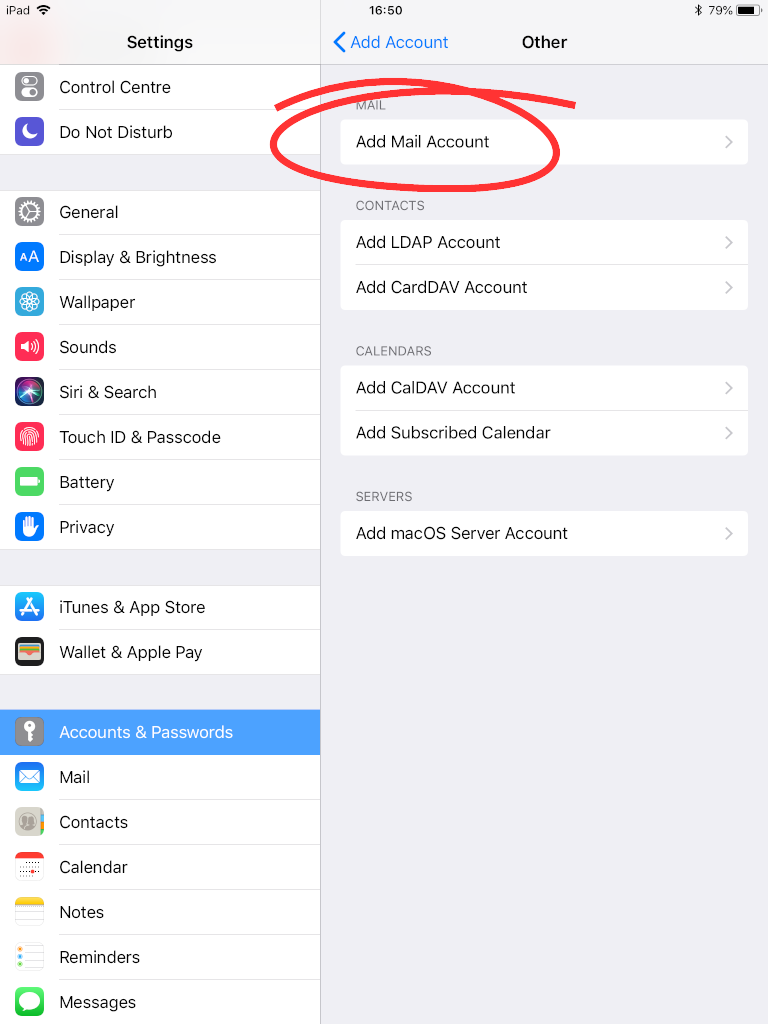
- Touch “Accounts & Passwords”.
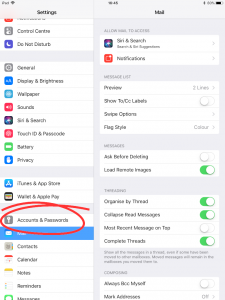
- Touch “Accounts & Passwords”.
-
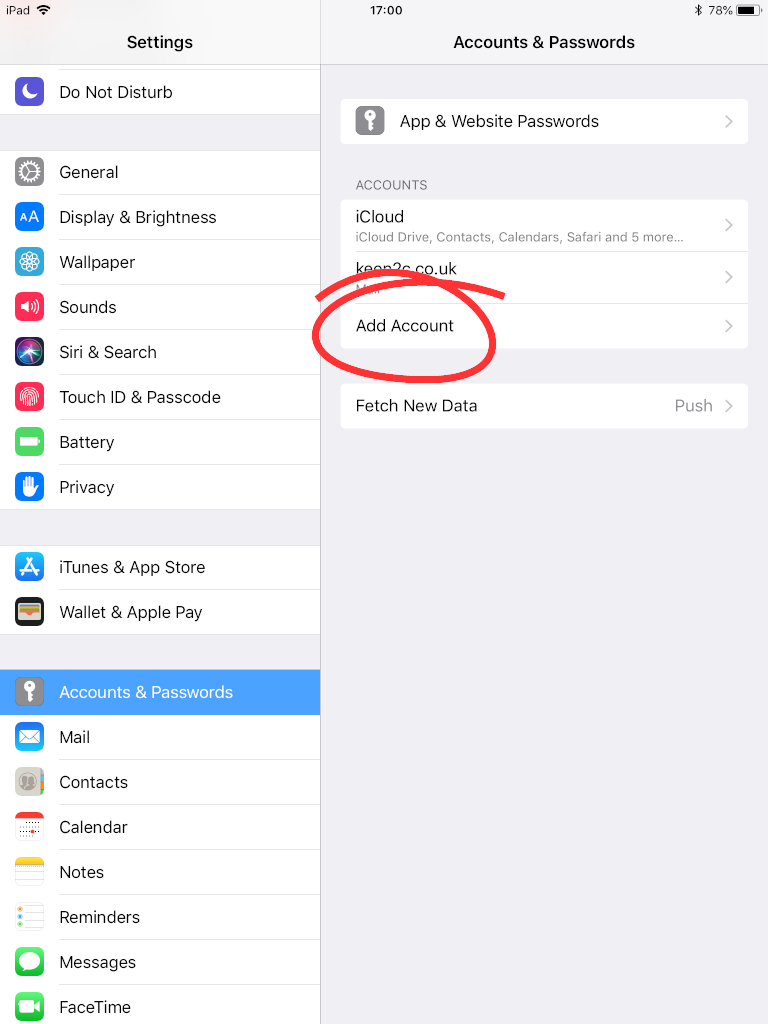
- If your iPad has already been configured, touch “Add Account”.
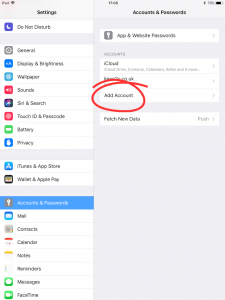
- If your iPad has already been configured, touch “Add Account”.
-
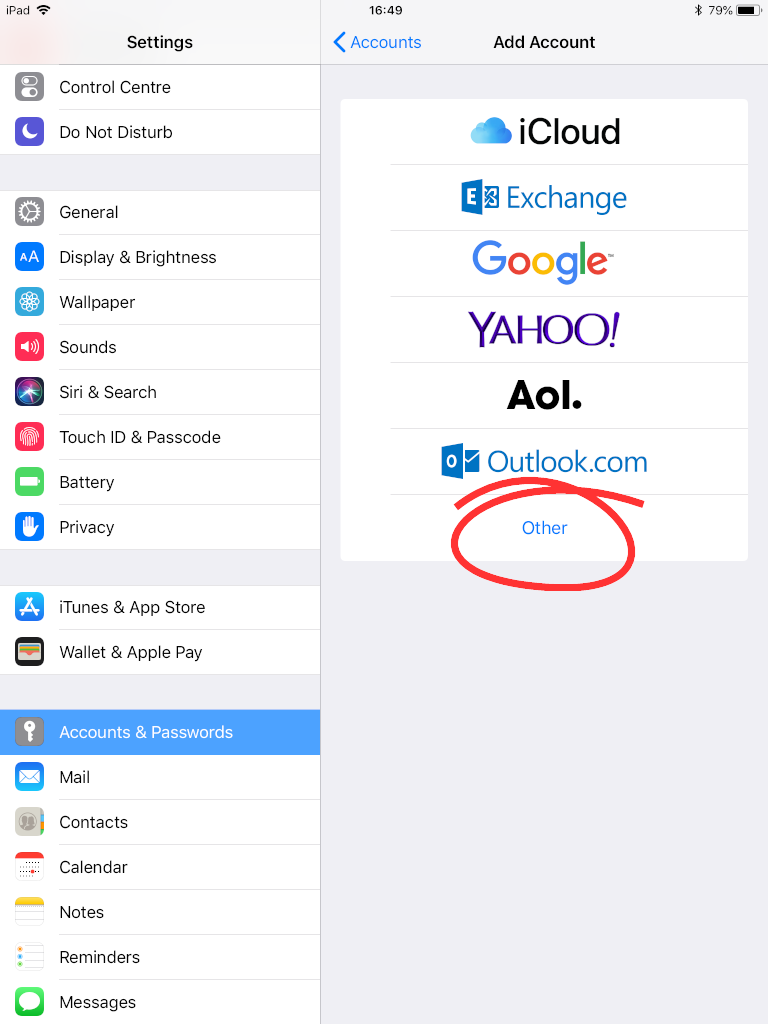
- Touch “Other” at the bottom of the list.

- Touch “Other” at the bottom of the list.
-
- Touch “Add Mail Account”.

- Touch “Add Mail Account”.
-
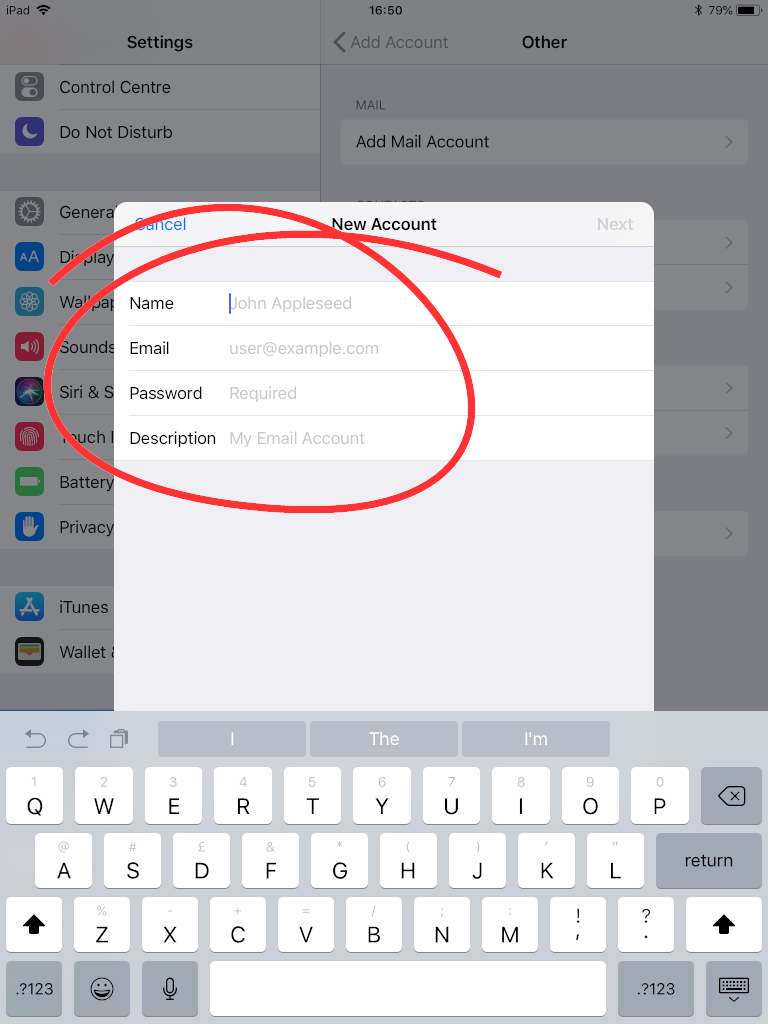
- Fill in the four white boxes with…
a) Name – Your name
b) Email – the email address we created for your domain name
c) Password – the password we gave you for your email address
d) Description – the email address again
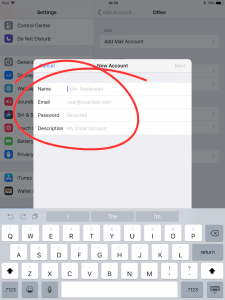
- Fill in the four white boxes with…
-
- After filling in the four white boxes, touch “Next”
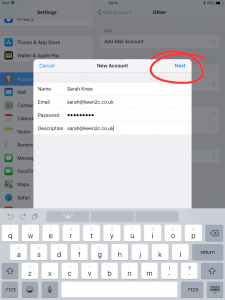
- After filling in the four white boxes, touch “Next”

-
- Make sure IMAP is selected (blue background) by touching “IMAP”.
- Make sure IMAP is selected (blue background) by touching “IMAP”.

-
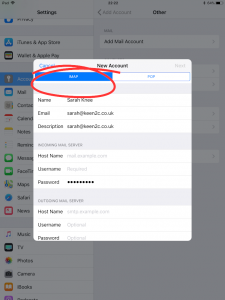
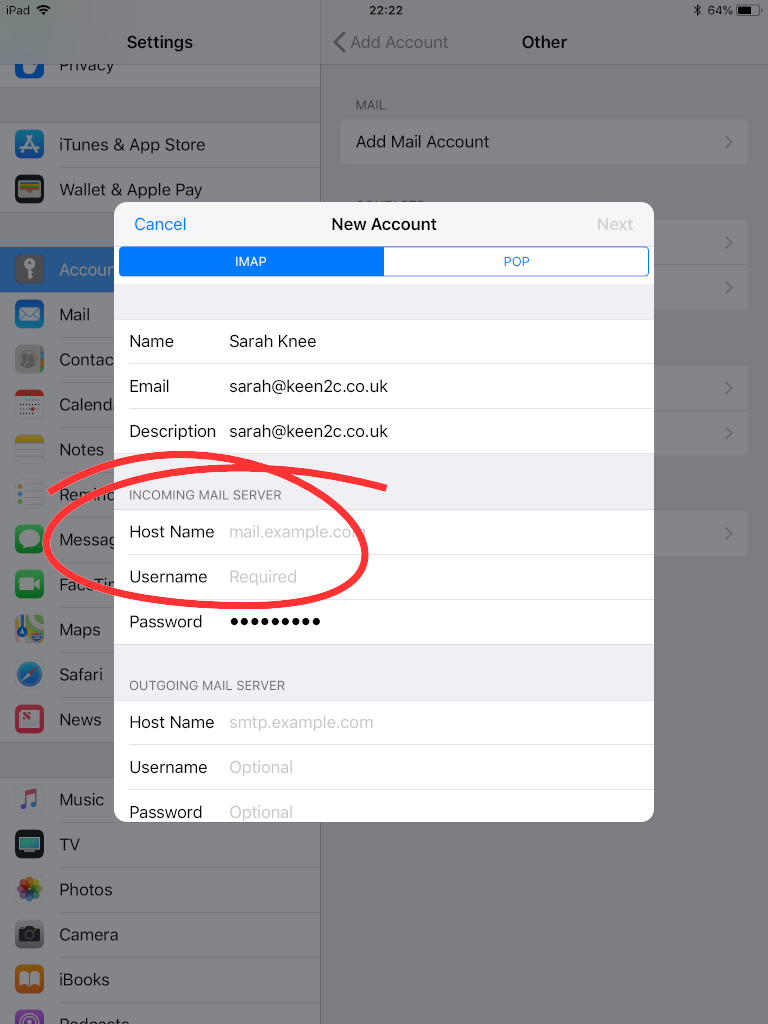
- In the section called “INCOMING MAIL SERVER”
a) Host Name – mail.your.domain.name
b) Username – the email address again
c) Password – this should already be filled in

- In the section called “INCOMING MAIL SERVER”
-
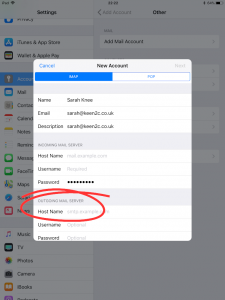
- In the section called “OUTGOING MAIL SERVER”
a) Host Name – mail.your.domain.name
b) Username – the email address again
c) Password – the password again
- In the section called “OUTGOING MAIL SERVER”

-
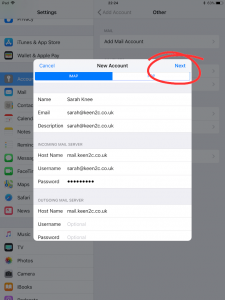
- Touch Next. You might see the title change to “Verifying” and see some green ticks on the right. But, it might happen so fast that you will not see these things.
- Touch Next. You might see the title change to “Verifying” and see some green ticks on the right. But, it might happen so fast that you will not see these things.

-
- If everything has been entered correctly the window title will now say IMAP. Click “Save”
- The new email address should now be listed under the accounts